Three clean traps — carrier landings for people who are scared of carrier landings
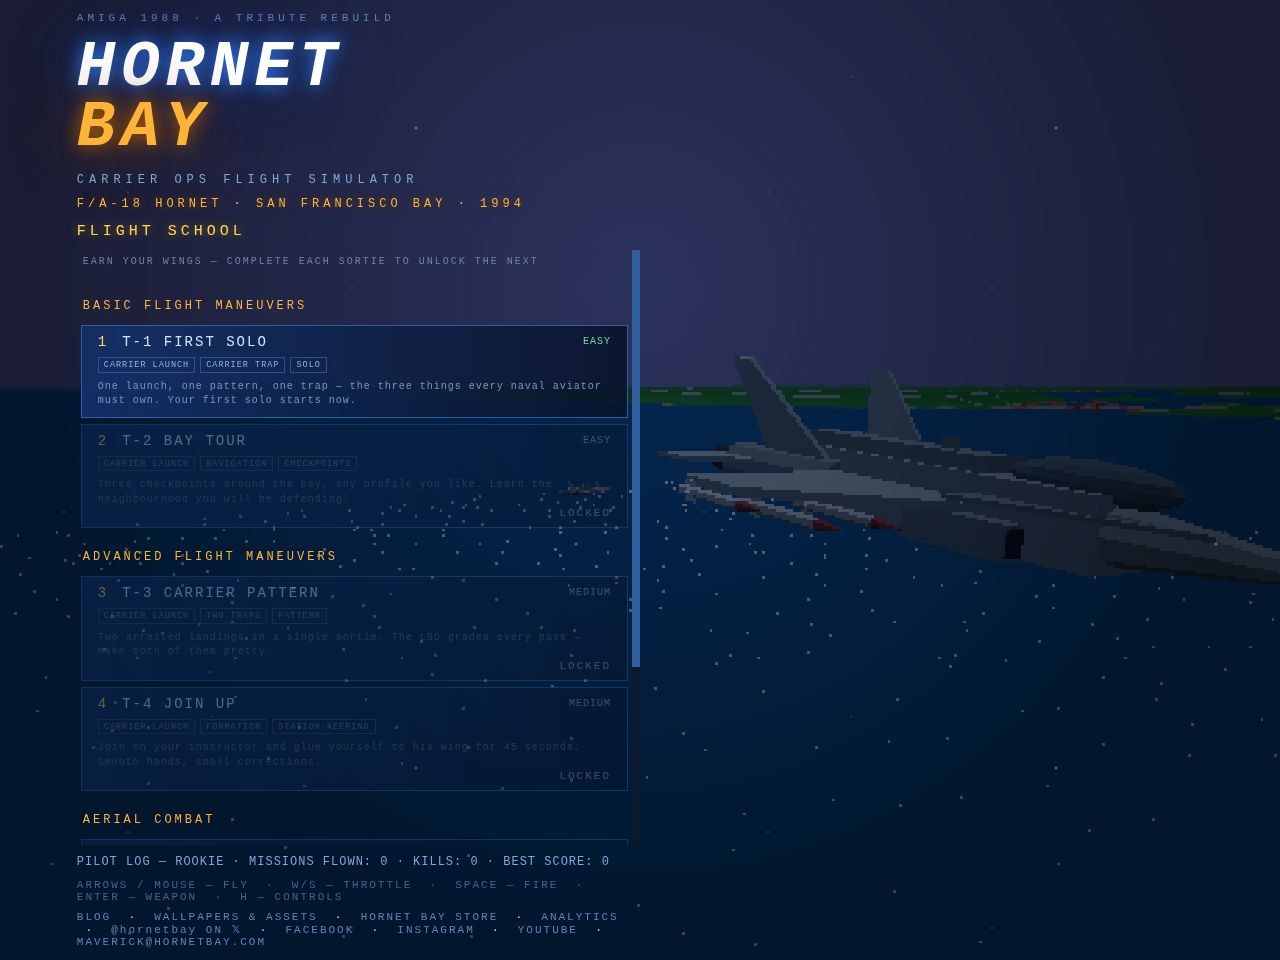
T-3 Carrier Pattern asks for two arrested landings in one sortie, and bolters do not count. Here is the gear, hook and meatball checklist that gets you aboard without the white knuckles.
Nobody is born calm on final. The trick in T-3 is that the sim never asks you to be — it asks you to do four small things in the right order, twice, and it counts only the passes that end in a wire. The Big E is the same boat you launched from in First Solo; the second trap is just the first one with your hands remembering it.
The checklist that does the work
- Gear down (G or L) and hook down (H or A). Skip the wheels and the deck is a crash: GEAR-UP DECK LANDING. Skip the hook and you get BOLTER! NO WIRE — FULL POWER, GO AROUND!
- Fly the ball. The amber ball on the port-side meatball rides five cells against the green datum row. Keep it centred and you are on the 3.5° slope. Red wave-off lamps flash if you come in dirty or badly off it (see angle deck, meatball).
- Hold the numbers. The first-solo briefing says 30–40% throttle and about 140 knots. Do not flare, do not chop the power; aim for the wires.
- Be gentle at the end. The code takes a sink rate under 1.5 m/s and under 105 m/s relative to the deck, with the hook inside the wire zone.
By the numbers
- T-3 is rated MEDIUM and unlocks after T-2.
- Two arrested landings in one sortie to pass. A bolter is a go-around, not a trap.
- Each trap pays +500; passing pays another +2,500.
- Four wires are painted on the deck. The air wing’s own radio calls the one it aims for the 3-wire, so aim there too.
- After every trap the deck crew refuel and rearm you, then it is taxi back, launch again and around.
The LSO line on loading is the whole lesson: TWO TRAPS TO PASS, VIPER. TAKE YOUR TIME IN THE GROOVE. After the first, you will hear GOOD PASS. CHOCKS AND CHAINS, THEN DO IT AGAIN. Then you really do. The carrier is also your point of origin, so a clean trap is a mission-style return to base in miniature; watch the deck cycle in a day on the Big E to see how the air wing does it.
Try this: bolter on purpose once — hook up, ball centred — just to hear the deck call it. Then put the hook down and do it properly. Three clean traps and you will stop being scared of the boat. Built for computers, not phones; arrow keys and a throttle hand are all it needs.
— HB