First solo — a walkthrough of T-1 and your first hour in the cockpit
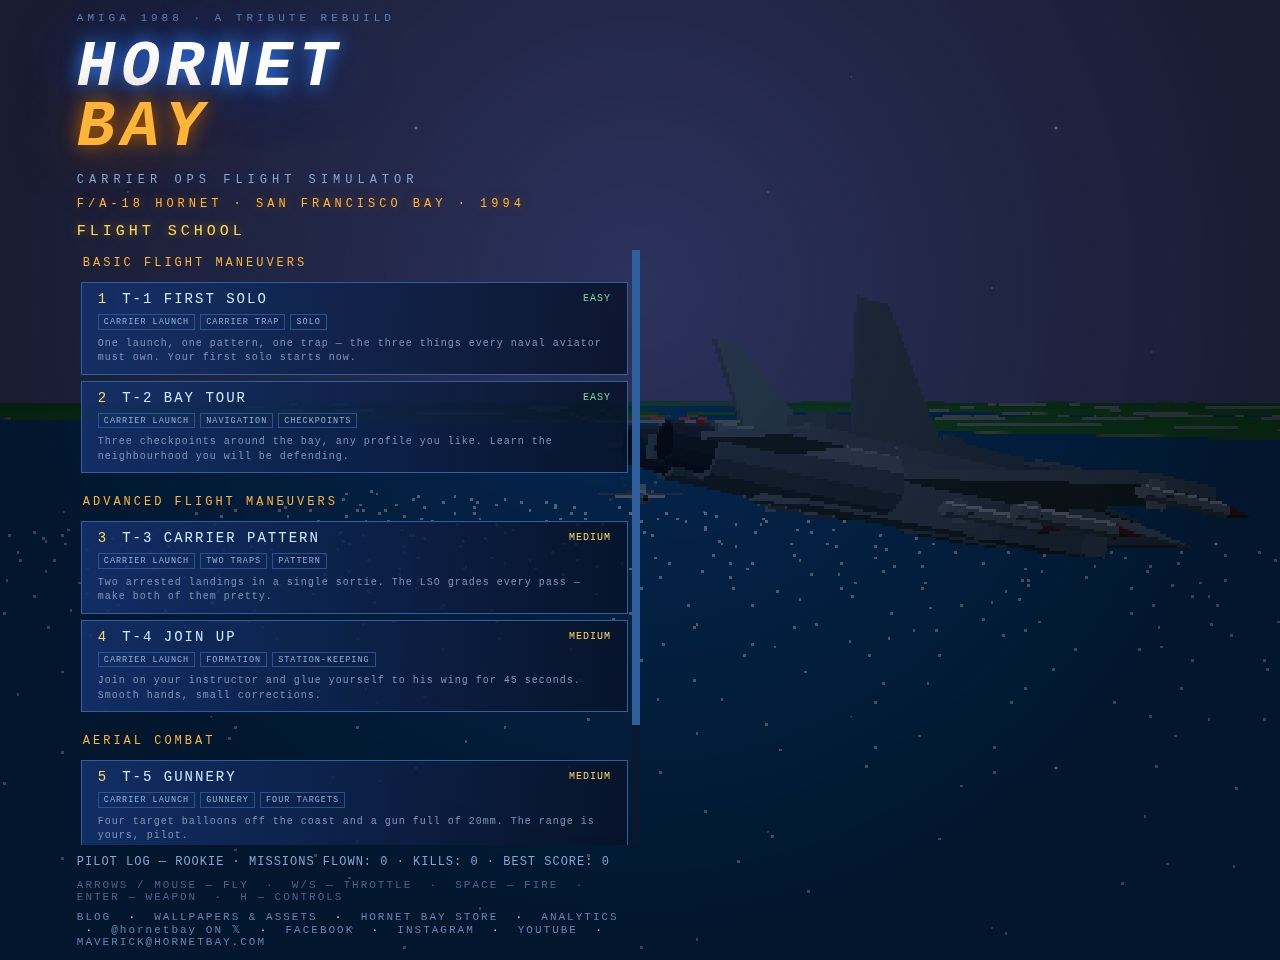
T-1 First Solo asks for three things: a catapult shot, a lap of the bay and an arrested landing back on the Big E. Here is the whole sortie, button by button, and what to fly when you are done.
Open the menu, pick FLIGHT SCHOOL, choose T-1. It is rated EASY, it is unarmed, and the only way to lose is to put the jet in the water. Your pass mark is one trap aboard the carrier you launched from — which, conveniently, is exactly where every mission wants you to finish anyway.
Launch
You start on Cat 1 with the holdback bar on. Push the throttle up (W) and the game tells you what it wants: 90% thrust for the shot. Cross that line and the steam does the rest. The briefing says rotate at 150 knots; ease the stick back and you are flying.
The lap
Tower says fly around and come back, so do. A waypoint rides above the carrier. Nobody is shooting at you; use the lap to learn how the jet banks, how the afterburner (hold Shift) eats fuel, and how the airspeed bleeds in a turn.
Coming aboard
Three things before the deck, and the sim checks all three:
- Gear down — G or L. No wheels, no landing.
- Hook down — H or A. The Hornet and Tomcat wear a HOOK lamp so you can see it. Skip it and the deck calls it a bolter: full power, go around.
- Fly the ball — 30–40% throttle, about 140 knots, down the 3.5° slope the meatball shows you. The code wants a sink rate under 1.5 m/s and less than 105 m/s relative to the deck.
Catch a wire and the throttle chops, the brakes bite, and you stop in a couple of seconds. The deck crew rearms and refuels you, and the sortie ends with 2,000 points for the qualification on top of the 500 for the trap.
In the sim
- Plane choice is yours; the F/A-18 is the natural fit, but the F-16, F-15 and A-10 carry no tailhook.
- Press ESC to re-spot on the catapult if you botch the first shot.
- A fresh pilot sees T-1 first on the board, ungated.
Try this: fly the pattern twice, and make the second trap the one where you never touch the stick after the ramp. Then take T-2 Bay Tour — three checkpoints, an under-seven-minute bonus, and a good look at the Big E’s neighbourhood.
— HB